Property Renovation – Flat Roof vs Pitched Roof
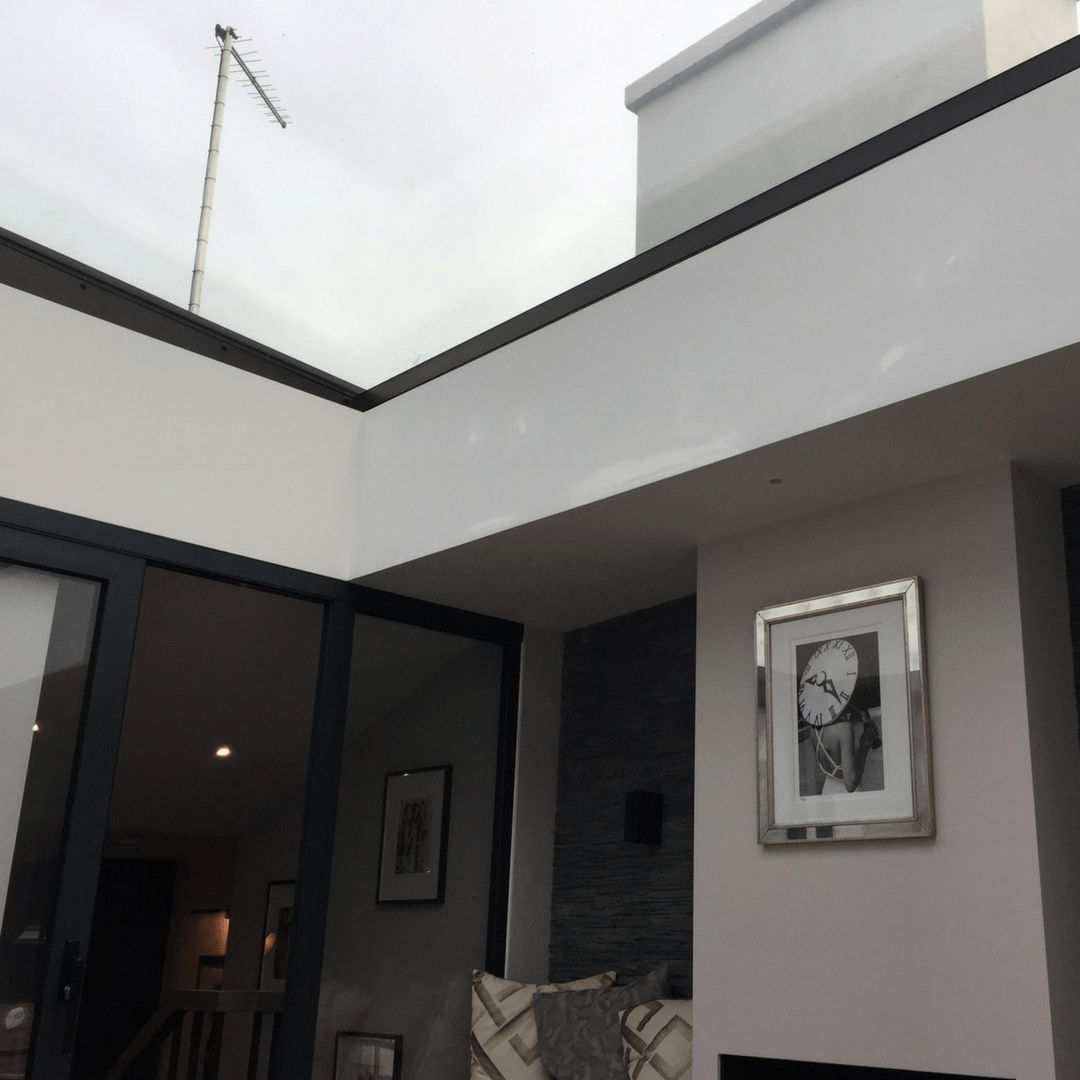
If you are considering building an extension, one of the decisions you
If you are considering building an extension, one of the decisions you

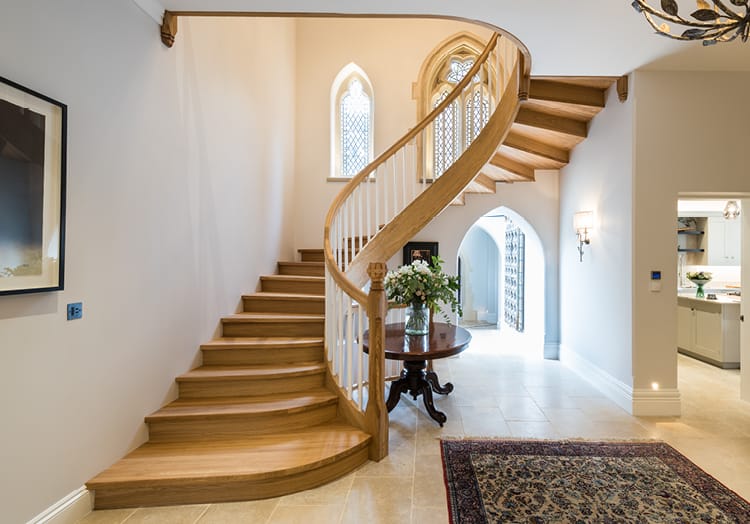
Altering the internal configurations of your home is sometimes an easier and cost-effective way to increase space than undertake the challenges of building extensions…
Planning Building Work? Read This Advice From Kevin McCloud…
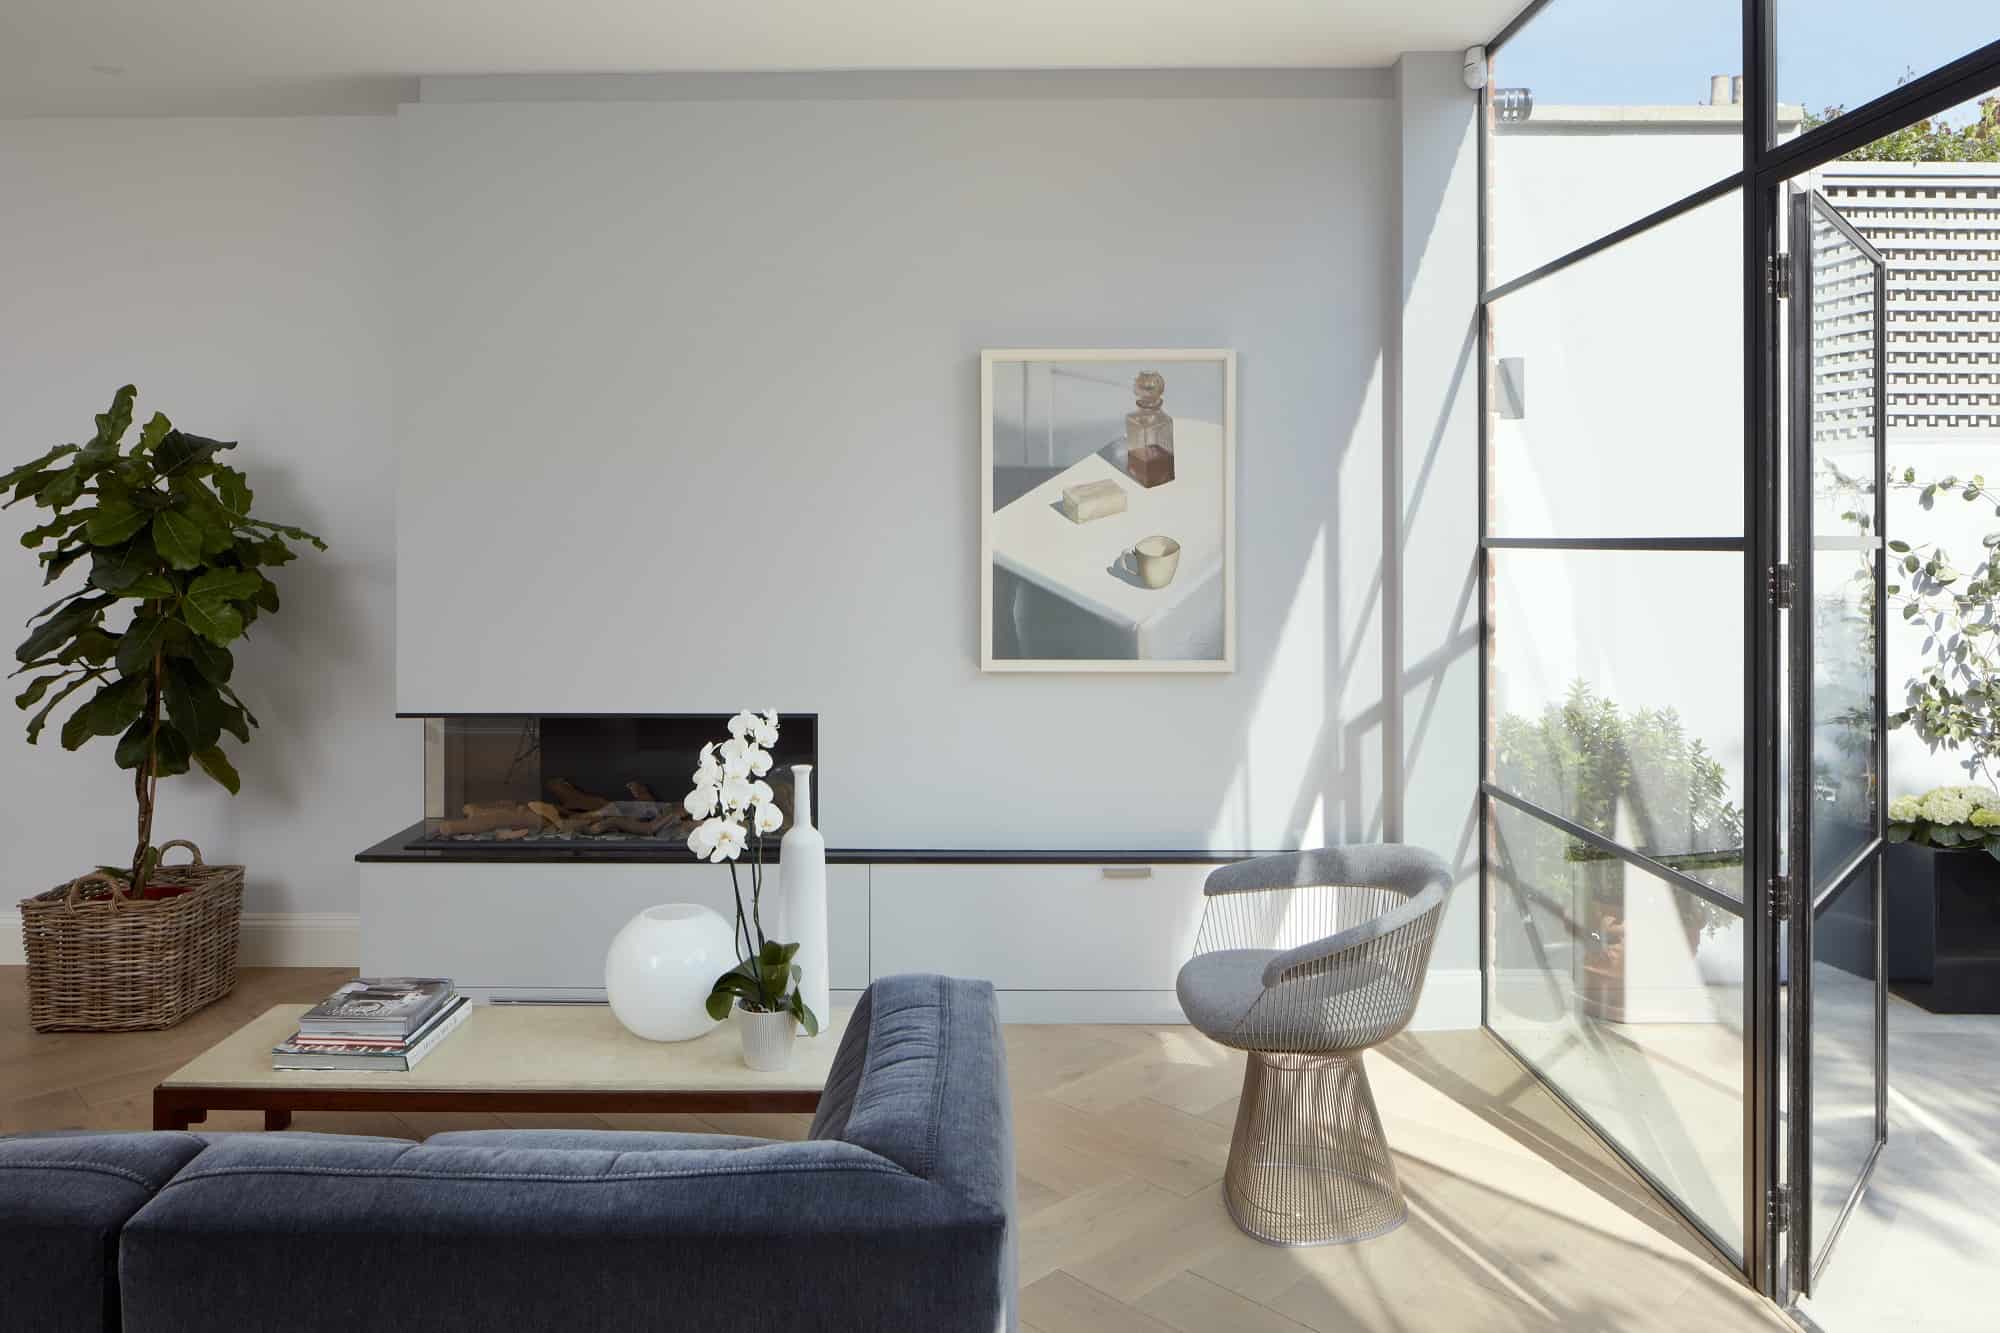
With stamp duty rates skyrocketing and adding a hefty chunk to the cost of moving, it makes sense to add square footage to your existing space, rather than incurring the pain and cost of moving home.
Embarking on a property renovation project, whether it’s our home or a
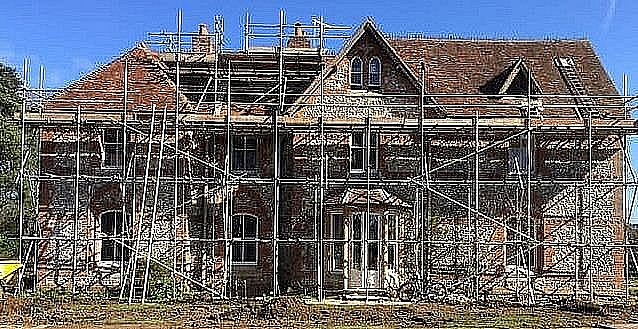
It can be very exciting to schedule and plan the design of